"Quantum of Solace: The Game" Walkthrough
(2)
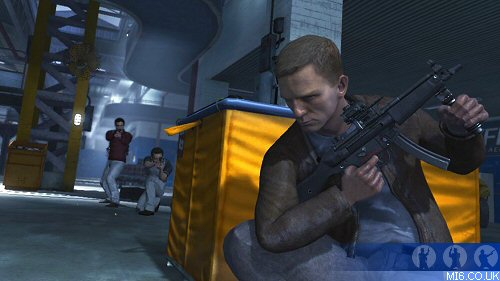
Sink Hole
Descend the hill and take cover behind the boulders. You will
not be harmed by the helicopter’s gunfire if you remain
stationary. When the gunfire momentarily stops, sprint and
take cover behind the next set of boulders. You will eventually
take cover behind a large boulder with a fire directly in front
of it. To the right of this boulder is a descending hill. When
the gunfire stops, descend the hill and take cover inside the
plane wreckage. You will suffer significant damage, but will
quickly heal inside the wreckage.
When the gunfire momentarily stops, proceed outside the opposite
exit. You will follow a straightforward path. When you see a
large piece of plane wreckage (a tail), proceed to the tail.
Upon entering the river, crouch and utilize stealth. Positioned
on the wreckage is a sentry you must disarm. Slowly approach
him and take him down.
Turn left and you will discover enemies attacking your position.
Eliminate them and proceed to their position. Upon reaching their
position, turn left and follow the river. Ascend the small hill
and eliminate the small batch of enemies. Across from your position
you will see an ascending hill. Proceed to the base of the hill.
Cover is essential in this section. Think of the ascending hill
and the row of rocks as an ascending hill with a row of enemies.
Eliminate the closest row first and take cover behind the row
they were guarding. Repeat this process until you reach the hilltop.
Enter the cave that is glowing red. Exit the cave. Upon exiting
the cave, you will see parts of a crashed helicopter. Proceed
to the crashed helicopter and arm the machine gun.
As with the sniping portion of Opera House, enemies will approach
from all areas randomly. Whenever you see a gun muzzle flash,
eliminate the enemy. If you are harmed, proceed to the source
(point in the direction of the red arrows when being shot) and
eliminate the enemy. Do this until the objective is completed.
In this room, there are three red glowing lights produced by
flares. Proceed to the source of the second (middle) one. Follow
the straightforward path upward and eliminate the two snipers.
Using your newly-obtained M14 sniper rifle, eliminate the guards
attacking Camille’s position. You will soon receive fire
from guards (two) are attempting to flank your right side. This
portion will end when the helicopter appears in view.
Turn left to enter a second cave “room” and
open the yellow case. Using your newly-obtained D.A.D. rocket
launcher,
destroy the helicopter. Two nicely placed shots will do the job.
When the helicopter has crashed, proceed to Camille’s position
to end the level. To descend the hill, return to the first “room” and
jump down to begin descending.
Shantytown
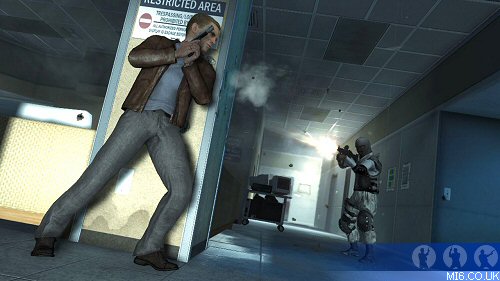
Proceed to the shack across the snake pit, take cover,
and eliminate the enemies. Work your way through the small shack
to the beach. Approach the coast, turn left, and take cover behind
the boxes. To eliminate the machine gun gunner, shoot the gas
tank directly above the truck. Proceed forward and an enemy will
open a shack door and begin attacking you. Eliminate him and
proceed through the door. Proceed forward, turn right, and exit
through the door. Proceed left and follow the straightforward
path. You will eventually find yourself in a small shack with
a yellow case. Open the yellow case and equip the CAT-8.
Though the CAT-8 may appear wildly inaccurate upon first glance,
it is a wonderful gun to use when shooting from cover and thus,
a wonderful gun for this portion. Approach the middle window
and eliminate the guards proceeding toward you, in the garage,
and to the upper-left of the garage. Approach the right-side
window. Eliminate the enemies on ground level and those on the
elevated level. Watch for enemies on your immediate right, upon
the rooftop. When the pickup truck approaches, stay under cover
and ignore it. It will drive away shortly.
Return to the middle window. Eliminate the few enemies still
alive and the pickup truck will return. The garage door will
also open, revealing a large gas tank. Ignore all enemies and
concentrate all your fire upon the gas tank. The large explosion
will eliminate all enemies. It will also create your exit. Proceed
outside and chase the bomber – he will be running up the
hill found on the right side of the garage.
Construction Site
Proceed to your right and run around the collapsing pipes.
Ascend the small hill the bomber did. You will see a large blue
plank leading upward. Jump onto the blue machinery (found on
your left) and run up the plank. Enter the left room, crouch,
and crawl into the open gated space. Proceed to the opposite
end and exit the gated space. Turn right and approach the portion
of the wall with a large crack.
Run forward, turn left, ascend the small bridge, and climb over
the bar. Turn right twice, and proceed left via the planks. Jump
to the machinery holding the pipes and detach the pipes to ascend
to the bomber’s position. Proceed to the bomber’s
position (the balancing mini-game is used) and jump to the “lower
level.” Turn right, play the balancing game again, and
jump to the building’s rooftop. Proceed forward to fall
down to the lower level and descend the staircase. When you fall,
turn left and approach the seemingly locked gate. It will automatically
open. Turn right and proceed to the lift. Tear the cables (via
the console) to descend. Sprint to the van.
Related Articles
 MI6 "Quantum of Solace: The Game" Coverage
"Quantum of Solace" campaign
players guide by Lethal Weapon for MI6. All rights reserved.
The players guide is for personal use only
and may not be republished without prior permission. MI6 can
not be held responsible for any errors or omissions from the
campaign mission walk through or gameplay tips.